Our most recent crazy spree at IKEA saw us looking for candlelebras and scented candles for my mum to decorate the new place with. I must say, the Christmas stuff available at IKEA is simply incredible. We also ended up buying some hanging star lights for the balcony, red napkins for our Christmas Eve dinner with our extended family (a tradition we've had since I was a little kid!), silver and gold baubles for the Christmas tree, and a lot of other stuff that I can't remember.
But somewhere along the way, my mum asked me to make her a mini Christmas tree (!) with chocolates and candies (!!) for the kids to eat (!!!).
Actually, mum, I rather eat the chocolates myself.
But even though I had no idea how in the world I was going to make a Christmas tree, I said ok. Maybe I thought I had too much time on my hands (which I actually don't), or that I liked a challenge. Anyway, to make my Nov/Dec life more challenging than it already suddenly is, I decided that heck, since I'm going to make the tree anyway, why don't I make my own Christmas wreath too! 0______0 Very smart, Jo.
But I gotta admit, when I went shopping for the materials, I couldn't help but feel excited. I'm quite a make-it-yourself person and in my perfect world I'll be getting my hands dirty with crafts every day.
Shopping at Art Friend is really an experience in itself. I was gaping at the variety of art stuff sold there even though I didn't have a clue as to what most of them are for. LOL. It wasn't my first visit to Art Friend but I gape every time I'm there. At both the variety of products they have and at the prices. Irresistible items at totally resistible prices.
Anyways, instead of making my mum's mini tree, I made my Christmas wreath first cos a. it's easier to make, and b. I wanted the wreath to be ready to surprise KU with when he gets back from his work trip.
DIY Christmas Wreath Tutorial
Things you'll need:
- styrofoam wreath frame (I call this a styrofoam donut)
- florist tape (or green ribbon, tape will do as well)
- pine cones
- poinsettias
- cranberry branches
- wide ribbon (optional)
- white glue
 |
| Poinsettias from Daiso; everything else from Art Friend |
To start off, wrap the florist tape around the entire donut, at about a 30-degree angle so that the wrapping action flows.
 |
Keep wrapping the donut, bringing the roll of florist tape through the donut hole, under and over the sides. Please don't be lazy and unroll the tape and try to wrap the donut without bringing the whole roll with you. You will just end up with a tangled mess.


 |
| The wrapped donut: your canvas! |
And now comes the fun part - putting the details on your Christmas wreath!
Let me just say that it would be helpful to eyeball your materials and picture how you want your completed Christmas wreath to look like. If you realise that you may not have enough materials after all, just take note of what extra stuff you need to get and make space on the wreath for those stuff - you can still continue making the wreath. If you prefer to wait til you have everything on hand, by all means do so.
Cut the stalks of your poinsettias/pine cones/cherry fruit, leaving an allowance of 1 inch so that you can secure them to the donut.

If the stalks are thick and hard, you can stick it directly into the donut.
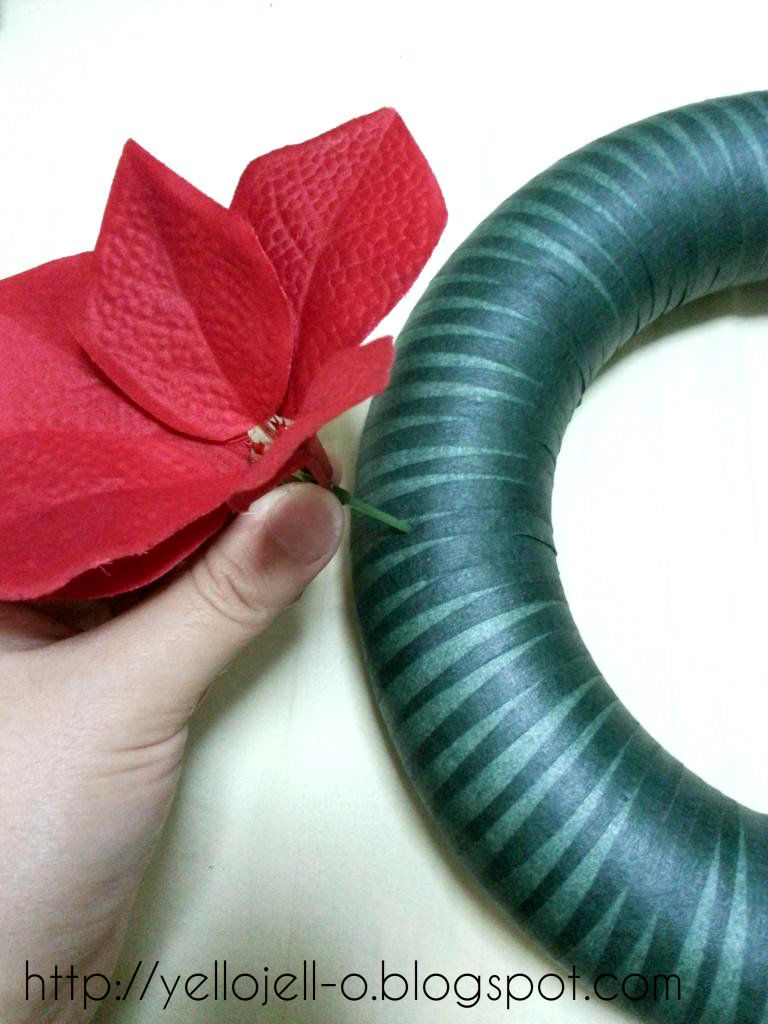
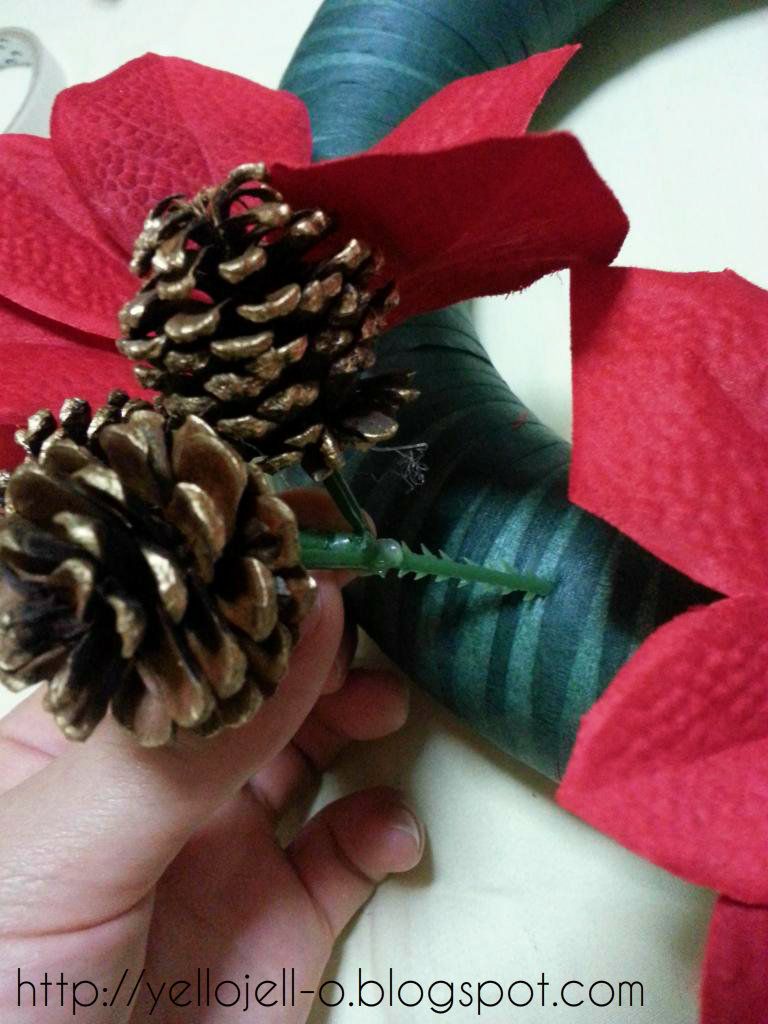


If the stalks of your flowers and other decor are flimsy, use the thickest sewing needle you have to make a small hole of about 1.5 inch deep and stick the stalk in. For extra security, apply a small amount of white glue on the stalk before sticking it into the donut.
 |
| Make a small hole using a thick needle |
 |
| If the stalk is very thin, fold it into two and stick it into the donut |
To finish up the wreath, I twisted wire around the back of the bow so that the two ends of the wire come out the top and the bottom of the bow.

Then I attach it onto the wreath by securing the wire around it.

And I'm done!! *beams*
 |
| Ta-dah!!! |
To celebrate your great work, take loads of pictures and upload them on your FB (or Twitter/Tumblr/Instagram) page for the world to admire! That's what I did, though I'm not sure if anyone really admired it. LOL. But I did. I'm narcissistic like that.